* WARNING: Do NOT connect your scanner device (ID-150, PENTA, AT10K, etc.) to your computer until all programs are installed. Full-Admin privileges required to install the software, so please make sure you log in and install with a local admin user profile. *
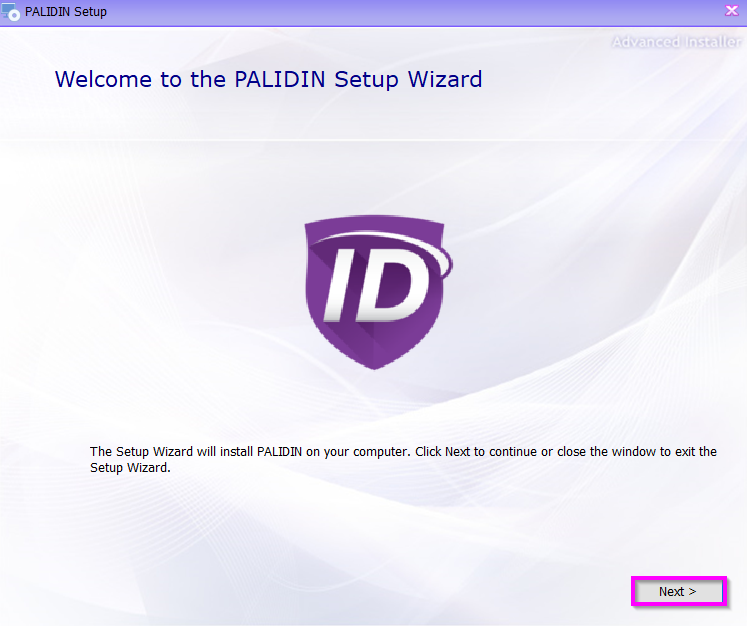
This guide will walk you through installing all software components needed to operate the PALIDIN system for v3.1.3 and beyond.
| Component | Recommended |
|---|---|
| CPU: Intel Only | Intel Core i5 (minimum 2 GHz ) |
| RAM | 8 GB |
| Disk Space | 128 GB |
| Operating System | Windows 10 Pro 64 bit or 11 Pro 64 bit |
Download/Installation Steps:
1. Ensure you have provided PALIDIN Support with your PC Name, License Key, and Store Location before moving forward with the installation.
2. Log out all users/apps
| *Recommendation: FraudFighter recommends, strongly, to log all users out of the PC before installation. Then login using a full-admin user account to prevent multiple UAC prompts during installation, so please make sure you log in and install with a local admin user profile..* |
You first want to download the PALIDIN Full Installer. The installer includes all the programs you need to install the system. Download the installer by clicking one of the below links:
Stable Release
A version that has been fully tested for 30+ days
Insider Release
Newest release that includes the latest library and features
3. Download PALIDIN v3.3.1
4. Right click and run the installer as admin
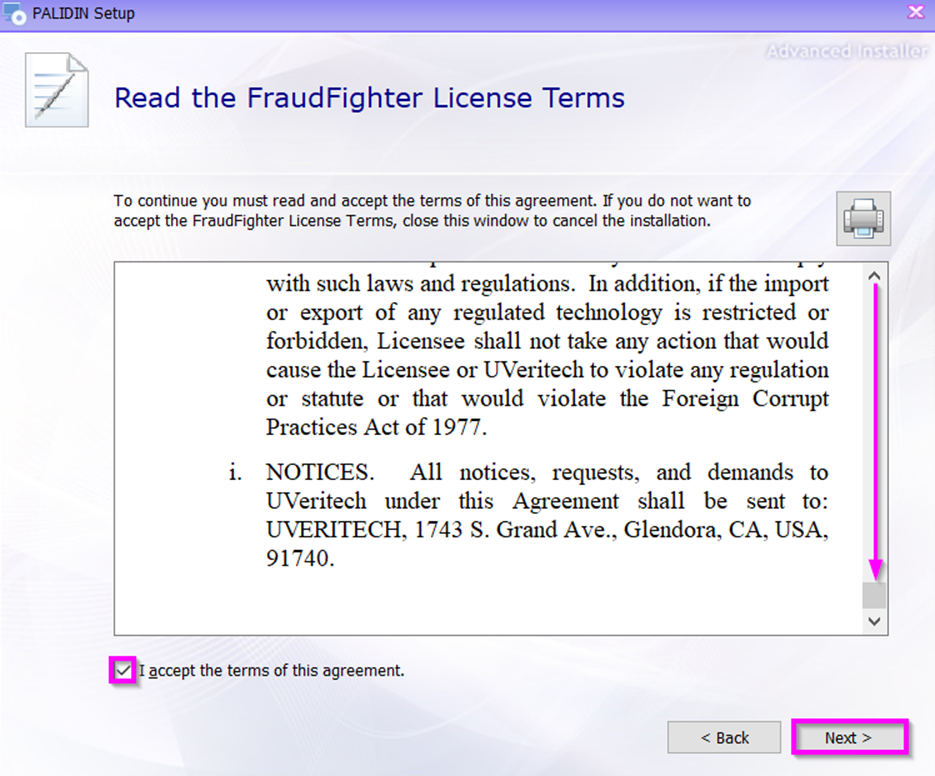
5. Accept Terms
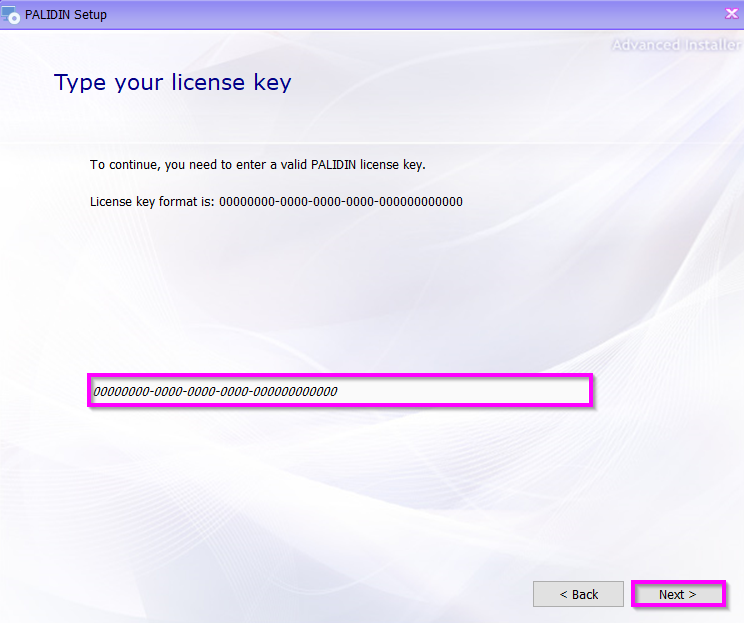
6. Copy/Paste your PALIDIN Portal Key
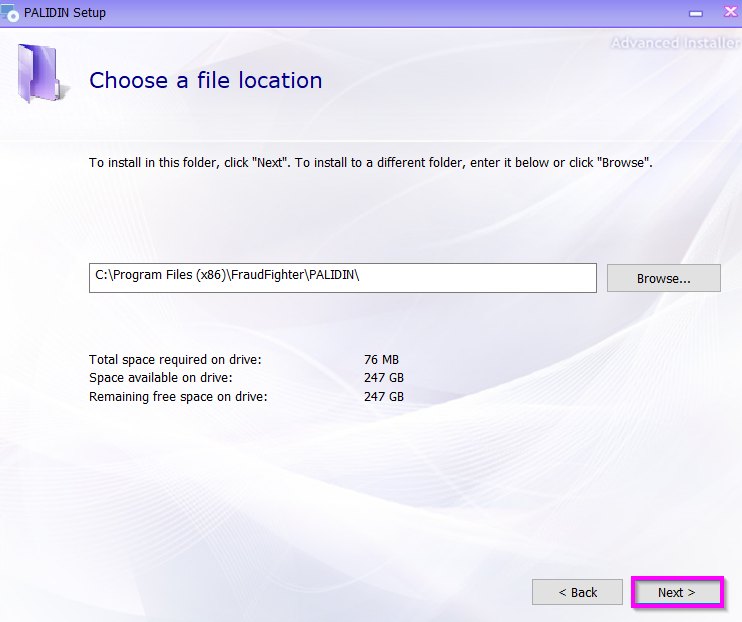
7. Select "Next"
8. Click "Install"
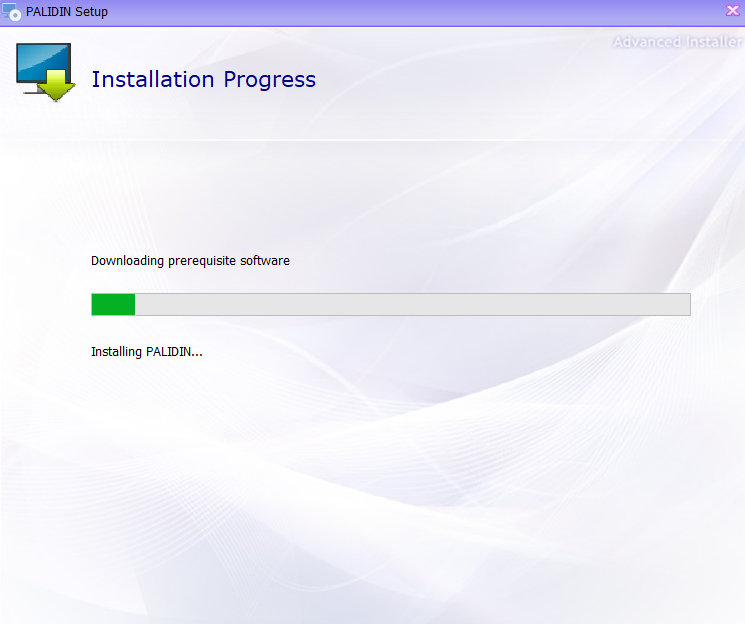
9. PALIDIN will automatically begin to install all necessary software components and drivers.

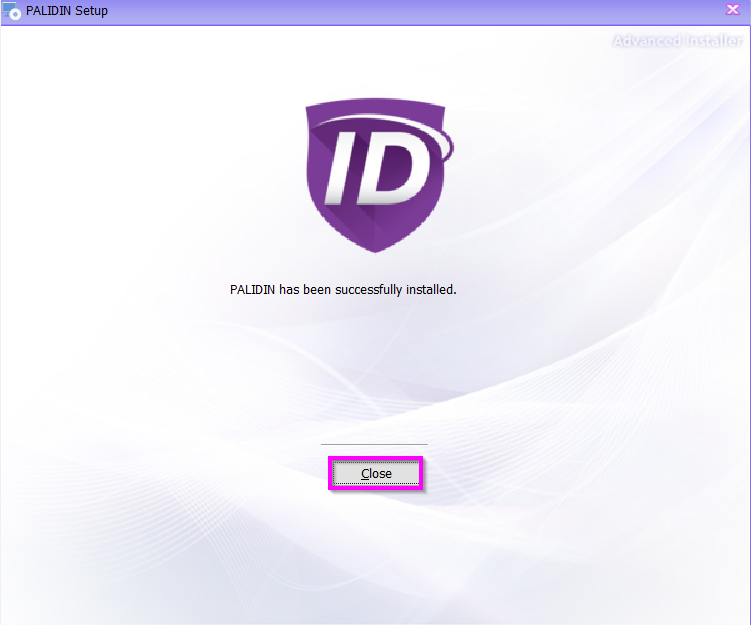
10. Click "Close"
11. Right click the PALIDIN desktop icon and select "Run as administrator"

If you run into any problems with the installation or have any questions, please contact us by:
Calling: 800.883.8822
Emailing: support@fraudfighter.com
Visit our help site: https://palidinsupport.fraudfighter.com/
Monday-Friday
7AM - 5PM PST
